
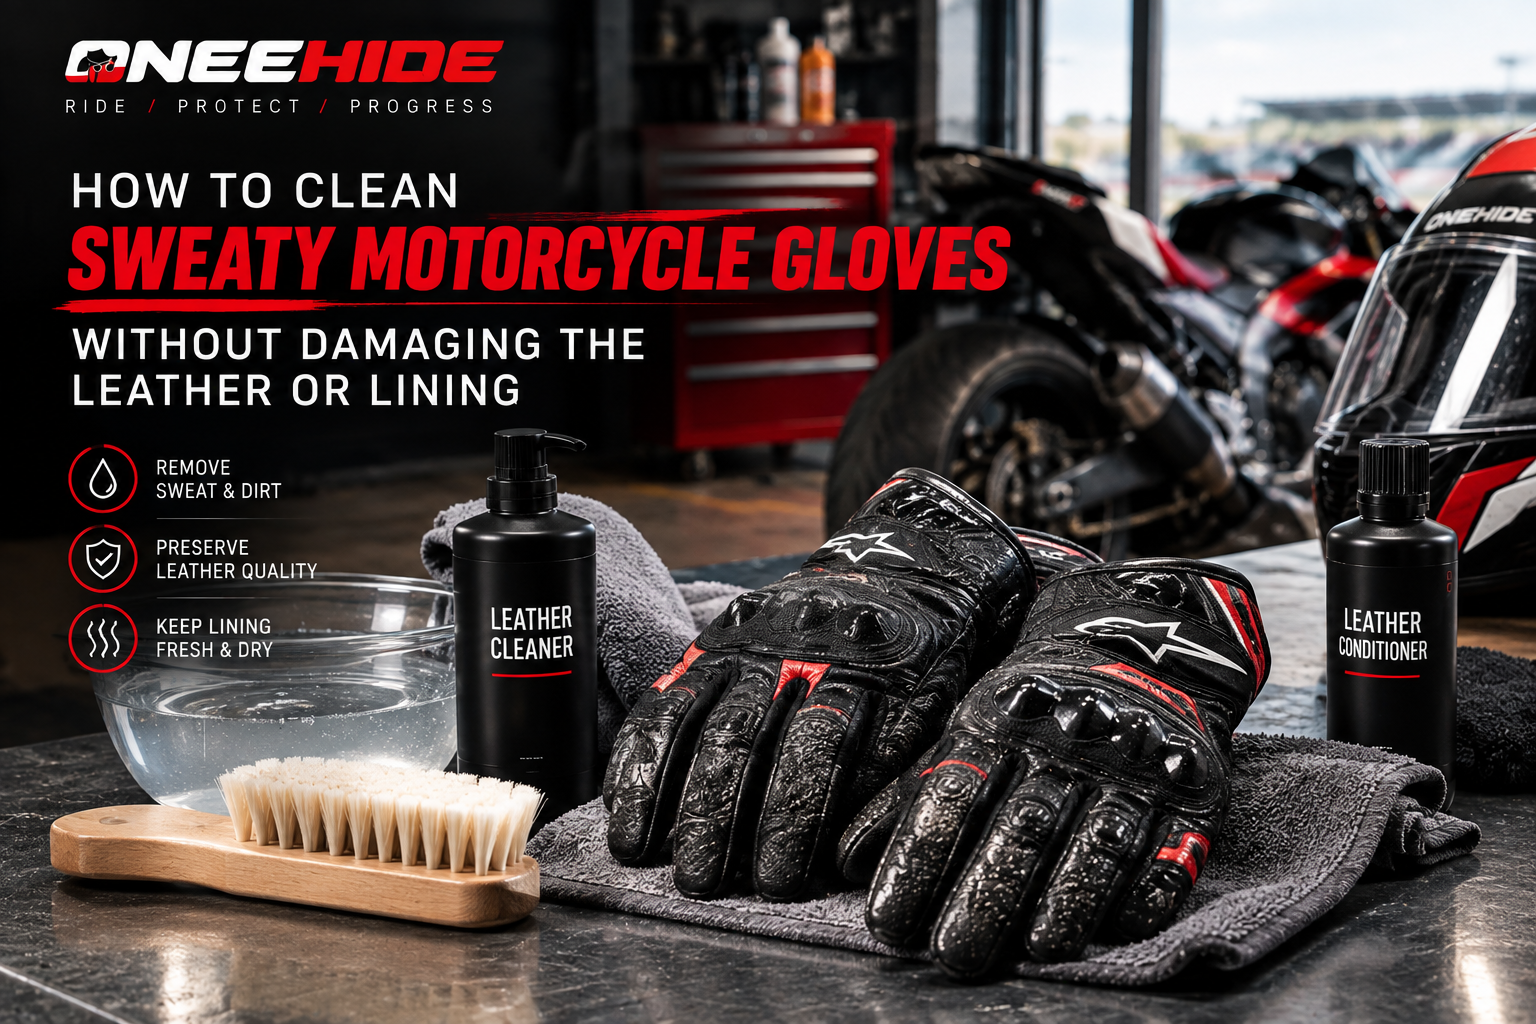
How to Clean Sweaty Motorcycle Gloves Without Damaging the Leather or Lining
Motorcycle gloves absorb more than most riders realize. On a hot ride, sweat works its way into the lining, while the palms collect skin oils, road grime, and residue from the controls. Leave that combination inside a pair of gloves long enough and you can end up with odor, salt deposits, stiff leather, or a lining that never seems to dry completely.
The solution is not to attack the gloves with aggressive soap or throw them into the washing machine. Leather motorcycle gloves need a controlled cleaning process because the material, stitching, protective components, and lining all have different requirements.
For most leather gloves, the safest approach is simple: remove loose dirt, clean gently with an appropriate product, rinse without twisting the glove, reshape it, let it dry naturally, and condition the leather only after it is completely dry.
Why Motorcycle Glove Sweat Causes Problems
Sweat is more than an odor problem. It contains water, salts, oils, and other compounds that can remain in the glove after a ride. Repeated exposure can leave the lining damp and can contribute to salt buildup on the leather.
That is why opening the cuffs and leaving the gloves somewhere ventilated after every ride is one of the easiest maintenance habits a rider can develop.
The problem becomes more noticeable during hot-weather riding. A glove that feels slightly damp when you take it off may still be holding moisture inside the fingers, around the palm, or beneath protective panels. Putting it straight into a closed motorcycle jacket pocket, pannier, or gear bag traps that moisture instead of allowing it to escape.
Before reaching for a cleaner, it is also worth checking what type of glove you actually have. Full-grain or other leather motorcycle gloves require different care from textile gloves, and mixed-material gloves can contain leather sections alongside synthetic fabrics, waterproof membranes, or other components. If you're comparing protective motorcycle gloves, the materials and construction should influence how you maintain them as much as the glove's protective features do.
Start With the Care Label
There is no single cleaning method that is appropriate for every motorcycle glove.
Manufacturers can use different leather finishes, adhesives, liners, waterproof membranes, and protective components. Some gloves are designed for hand washing, while others have more restrictive care instructions.
Check the manufacturer's label or care documentation before soaking the gloves.
REV'IT!, for example, recommends hand cleaning its motorcycle gloves with a damp cloth and specifically advises against hot water, solvents, washing machines, dry cleaning, and direct heat. BMW Motorrad likewise advises checking the care label because some glove models are hand-washable and recommends avoiding aggressive cleaning chemicals.
That matters because "leather glove" is not a complete description of the product. Two pairs can look similar from the outside and still require different treatment.
How to Clean the Outside Without Over-Wetting the Leather
For routine sweat and road grime, start with the least aggressive method that will actually remove the dirt.
Shake or brush off loose debris first. Then use a soft cloth that is slightly damp rather than soaking wet. Wipe the leather gently, paying attention to the palm, fingertips, knuckle area, and seams where grime tends to accumulate.
If the glove needs more than a water-only wipe, use a cleaner specifically intended for the type of leather and follow the manufacturer's instructions.
A useful rule is to put the cleaner on the cloth rather than pouring or spraying a large amount directly onto the glove. This gives you more control over how much moisture reaches the leather.
Avoid household cleaning products unless the glove manufacturer specifically approves them. Petrol, solvents, bleach, harsh detergents, and other aggressive chemicals can affect leather and other glove materials.
BMW Motorrad specifically warns against aggressive cleaning agents including petrol, acids, solvents, and alkaline cleaning products for its leather gloves.
For a valuable pair of gloves, test any unfamiliar leather-care product on a small, inconspicuous area first. A cleaner that works perfectly on one leather finish can change the appearance of another.
Cleaning the Sweaty Lining Is a Different Job
The inside of the glove is where many riders struggle.
Simply cleaning the outside will not remove sweat that has accumulated in the lining. At the same time, aggressively scrubbing the interior or flooding the glove with water can create a new problem by making the lining difficult to dry.
If the manufacturer's instructions permit interior washing, use a small amount of mild soap diluted in water rather than applying concentrated soap directly to the lining.
Work the solution gently through the interior. You are trying to lift sweat and salt from the lining, not scrub it as though it were a household fabric.
Held's glove-care instructions, for example, recommend washing the inside with diluted soap and water, rinsing thoroughly, and pressing water out rather than twisting or wringing the gloves.
For gloves with complex protective construction, avoid aggressive manipulation around armor, molded knuckles, palm sliders, hard shells, and stitched reinforcement. If the manufacturer does not provide instructions for washing the interior, contacting the manufacturer is safer than improvising a deep-cleaning method.
Never Wring Leather Motorcycle Gloves
This is one of the easiest mistakes to make after washing.
Wet leather becomes more vulnerable to distortion, and twisting a glove can put unnecessary stress on the leather, stitching, lining, and protective components. The fingers can also dry in an unnatural shape.
Instead, gently press or squeeze the glove to remove excess water. Work from the fingertips toward the cuff rather than twisting the entire glove.
BMW Motorrad similarly advises riders to squeeze gently and pull the gloves back into shape rather than rubbing, pulling, or wringing them.
Once excess water is removed, reshape the fingers and palm while the glove is still damp. The objective is to let the glove dry in approximately the shape your hand will use it.
Drying Is Just as Important as Cleaning
A poorly dried glove can suffer more from the cleaning process than from the original sweat buildup.
Place the gloves in a well-ventilated area at room temperature. Keep them away from radiators, heaters, hair dryers, direct sunlight, and other concentrated heat sources.
Do not put wet leather gloves into a clothes dryer unless the manufacturer specifically says that the particular glove is designed for that method.
REV'IT! warns that direct heat and sunlight can make glove materials stiff, while BMW Motorrad advises line drying or drying flat at room temperature and specifically says its leather gloves are not suitable for tumble drying.
Do not rush this stage. RevZilla's leather-care guidance recommends allowing a full 24 hours between washing leather motorcycle gear and applying conditioner, while thicker or heavily lined gloves may require longer to dry completely.
The important test is not the clock. The glove should be completely dry throughout, including the fingertips and lining, before you put it away or condition the leather.
What About the Smell?
Odor usually becomes easier to manage when you deal with the moisture causing it rather than trying to cover the smell.
After riding, open the glove cuffs and allow air to circulate through the interior. If possible, place the gloves somewhere dry and ventilated rather than leaving them compressed inside a gear bag.
Persistent odor can indicate that sweat has accumulated deeper in the lining. That is a reason to clean the interior according to the manufacturer's instructions, not necessarily a reason to keep applying fragrance or disinfectant sprays.
Be particularly cautious with alcohol-based products and household odor removers. They may not be appropriate for leather, dyes, coatings, adhesives, or waterproof membranes.
If a glove has developed a persistent smell accompanied by visible mold, extensive staining, damaged lining, or deteriorating leather, cleaning may no longer be the only issue. The condition of the protective equipment itself should be assessed.
Salt Stains Need Gentle Treatment
White or pale marks on motorcycle gloves are sometimes caused by dried sweat or road salt.
Don't attack these deposits with a stiff brush or abrasive pad. Start with the mildest cleaning method recommended for the glove. Once the residue has been removed, allow the leather to dry naturally.
Repeatedly soaking the same area in an attempt to remove a stubborn mark can create a larger problem by unnecessarily saturating the leather.
The goal is to remove the contaminant while disturbing the leather as little as possible.
When Should You Condition the Leather?
Conditioning is useful, but more is not necessarily better.
Leather conditioner should normally be applied only after the glove has been cleaned and completely dried. Use a product that is compatible with the leather and follow the manufacturer's instructions for the amount and frequency.
Apply a small amount first and work it evenly into the exterior leather. Pay attention to areas that flex frequently, but be careful around palms and control-contact surfaces. An excessive amount of conditioner can leave the glove unnecessarily slick, which is not desirable when you need consistent contact with motorcycle controls.
RevZilla's leather-care guidance also recommends applying conditioner to clean, dry leather rather than conditioning immediately after washing.
Some glove manufacturers recommend conditioning only occasionally, while others provide their own specific products and schedules. The care instructions for your particular glove should take priority.
What You Should Never Use on Leather Motorcycle Gloves
Several common cleaning shortcuts can cause unnecessary damage.
Avoid:
-
Hot water unless the manufacturer specifically permits it
-
Washing machines unless the glove's instructions expressly allow machine washing
-
Household bleach
-
Petrol or gasoline
-
Solvents
-
Strong detergents
-
Abrasive brushes
-
High-pressure water
-
Radiators and heaters
-
Direct sunlight for drying
-
Twisting or wringing wet gloves
-
Unapproved waterproofing or conditioning products
REV'IT! specifically advises against washing machines, dry cleaning, high-pressure cleaning devices, solvents, and direct heat for its motorcycle gloves.
The reason for this caution goes beyond appearance. Motorcycle gloves are protective equipment. Their construction has to preserve dexterity while providing mechanical and impact protection. BS EN 13594:2015, the standard covering protective gloves for motorcycle riders, addresses areas including sizing, ergonomics, mechanical properties, impact protection, marking, and information supplied to users. (BSI standard information)
Cleaning should therefore preserve the glove's construction rather than treating it like ordinary clothing.
A Simple Post-Ride Routine
You don't need to deep-clean your gloves after every ride.
A better routine is to deal with sweat and dirt before they accumulate:
-
Open the gloves and let them air out immediately after riding.
-
Wipe exterior dirt from the leather with a suitable soft cloth.
-
Check the palms, fingers, seams, and knuckle areas for accumulated grime.
-
Clean the lining when sweat buildup or odor indicates that it needs attention.
-
Allow the gloves to dry completely before storing them.
-
Condition the leather only when required by the manufacturer's care instructions.
-
Store the gloves somewhere dry and ventilated rather than sealed in a damp gear bag.
This routine is particularly useful for riders who commute daily or ride frequently in hot weather. Small amounts of maintenance are easier on leather than allowing months of accumulated sweat and grime to build up and then attempting one aggressive cleaning session.
When Cleaning Is No Longer Enough
Cleaning cannot restore every damaged glove.
Inspect the gloves after cleaning and drying. Look for cracked or severely abraded leather, separated seams, damaged closures, broken protective components, deteriorated lining, or armor that no longer stays correctly positioned.
A glove that has been involved in a crash should be evaluated based on its protective condition, not simply cleaned and returned to service because it looks acceptable.
Sweat maintenance is ultimately about preserving the glove you already have, not hiding problems that affect its protective function. Clean gently, dry patiently, use only compatible leather-care products, and follow the manufacturer's instructions when they differ from general advice. That approach gives the leather and lining the best chance of remaining comfortable and functional without turning routine cleaning into a source of damage.

 Arabic
 French
 Spanish
 Portuguese
 Deutsch
 Turkish
 Dutch
Dutch
 Italiano
 Russian
 Romaian
 Portuguese (Brazil)
 Greek
Greek