
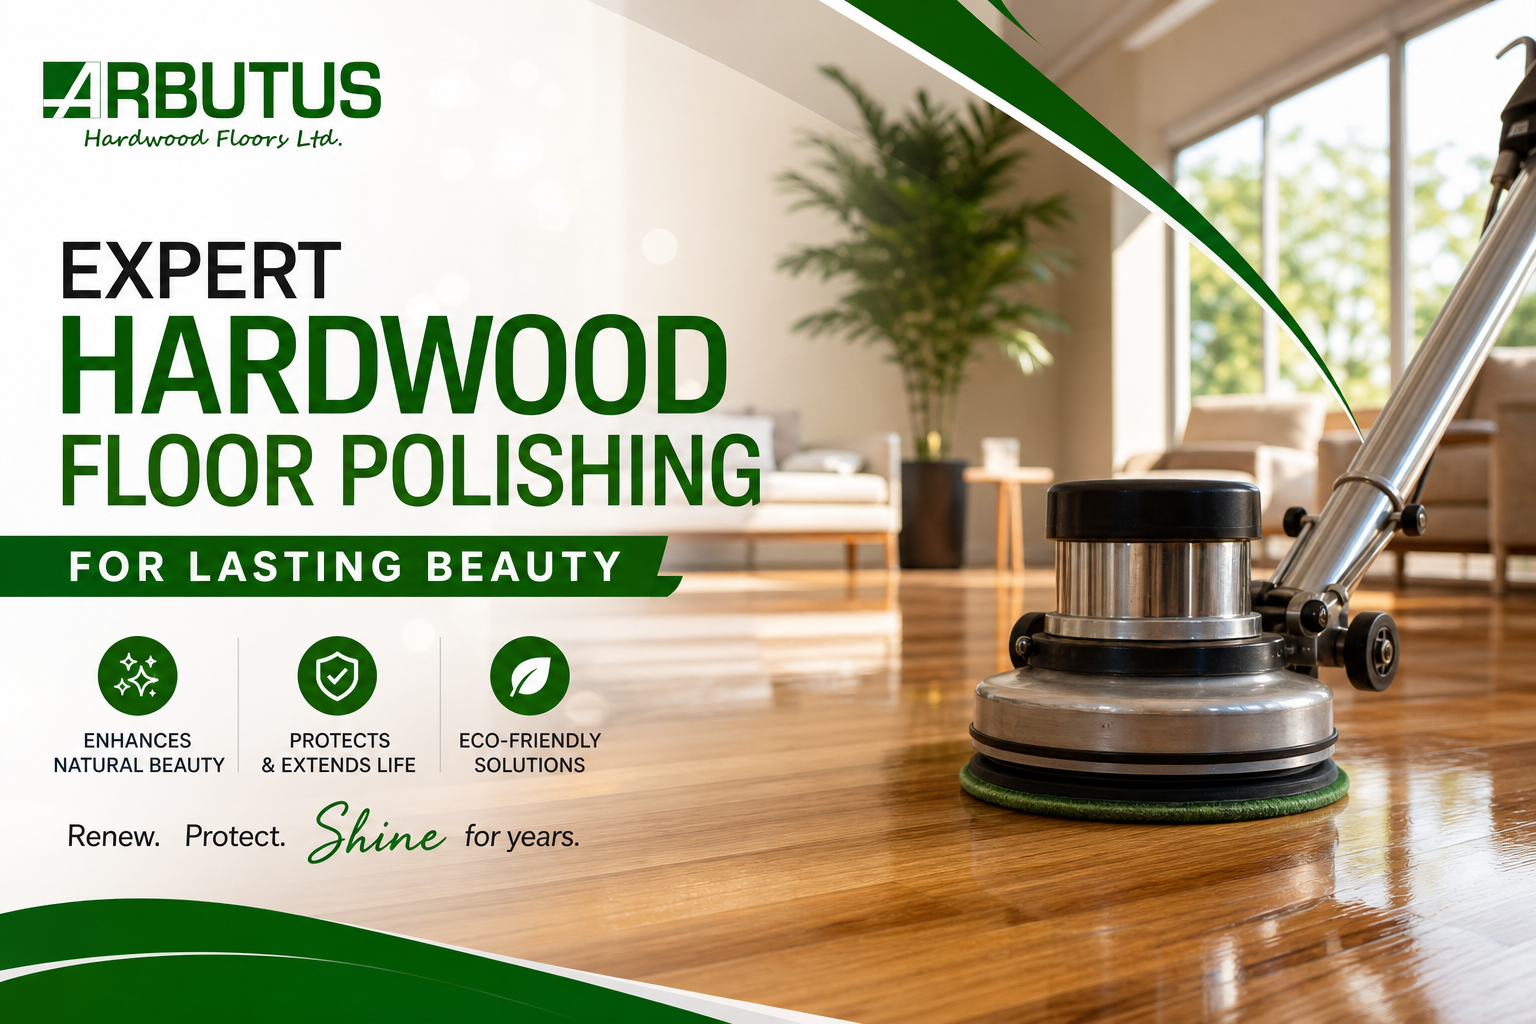
You walk into your living room on a Saturday morning, coffee in hand, sunlight pouring through the windows. You glance down and — yikes. Your hardwood floors look like they've been dragged behind a truck. The once-brilliant sheen is gone, replaced by a hazy, lifeless surface that screams "neglect." Sound familiar? Don't panic. You don't necessarily need a full-blown renovation. Sometimes, what your floors really need is a professional hardwood floor polishing.
Think of polishing as a facial for your floors. It doesn't strip everything down to the bare wood like refinishing does. Instead, it refreshes the existing finish, fills in micro-scratches, and restores that mirror-like glow that made you fall in love with your floors in the first place. In this comprehensive guide, we'll walk you through everything you need to know about hardwood floor polishing, from the nitty-gritty process to when you should call in the experts at Arbutus Hardwood. Let's get into it.
Why Hardwood Floor Polishing Is the Secret to Stunning Floors
Your hardwood floors are the unsung heroes of your home. They bear the weight of furniture, the chaos of pets, the endless parade of muddy shoes, and the occasional wine spill you'd rather forget about. Over time, the protective topcoat on your floors starts to degrade. It gets cloudy. It gets scratched. It loses that "wow" factor.
Hardwood floor polishing works by applying a fresh layer of protective coating over the existing finish. It's not sanding down to raw wood — it's more like adding a new clear coat of nail polish over a manicure that's starting to chip. The result? A dramatic visual improvement in a fraction of the time and cost of a full refinish.
The Science Behind the Shine
Here's what's actually happening on a microscopic level. Your floor's finish is essentially a thin plastic-like layer (usually polyurethane) that sits on top of the wood. Daily wear creates tiny abrasions in this layer. Those micro-scratches scatter light instead of reflecting it, which is why your floor looks dull. Polishing fills in those scratches with a new coating that smooths the surface, allowing light to bounce off evenly again. That's your shine — and it's pure physics.
Hardwood Floor Polishing vs. Refinishing: Which Do You Actually Need?
This is the million-dollar question — or at least the several-hundred-dollar question. Many homeowners confuse hardwood floor polishing with hardwood floor refinishing, and honestly, the flooring industry doesn't always help by using the terms loosely. So let's set the record straight.
When Polishing Is Enough
Polishing is your go-to when the finish on your floors is still structurally intact but cosmetically tired. We're talking about surface-level dullness, light scuff marks from shoes, and that general "blah" appearance that creeps in after a year or two of heavy use. If you can still see the original stain color clearly and the wood itself isn't exposed anywhere, polishing will work wonders.
The Water Droplet Test
Want a quick way to check? Drop a teaspoon of water on a high-traffic area. If the water beads up and sits on the surface, congratulations — your finish is still doing its job, and hardwood floor polishing is a perfect fit. If the water soaks in and leaves a dark stain, your finish has worn through, and you're looking at a refinishing job.
When It's Time to Refinish Instead
If your floors have deep gouges, significant discoloration, areas where the raw wood is exposed, or widespread water damage, polishing won't cut it. You need hardwood floor refinishing, which involves sanding the floors down to bare wood and applying entirely new stain and sealant. It's a bigger project, but it delivers a complete transformation.
The Step-by-Step Hardwood Floor Polishing Process
Whether you're considering a DIY weekend project or hiring the team at Arbutus Hardwood, here's what the hardwood floor polishing process actually looks like.
Step 1: Deep Clean and Prep
This step is non-negotiable. You cannot polish a dirty floor. I repeat: you cannot polish a dirty floor. Any dust, grit, pet hair, or sticky residue left on the surface will get trapped under the new polish coat, creating a bumpy, uneven finish that looks worse than when you started. Use a hardwood-safe cleaner and a microfiber mop. Go over the entire floor at least twice. Let it dry completely.
Step 2: Buff and Screen
Professional polishers use a technique called "screening," which involves running a buffer with a fine abrasive pad over the floor. This lightly scuffs the existing finish — just enough to give the new polish something to grip. Think of it like sanding a wall before painting. You're not removing the old finish; you're creating a textured surface for better adhesion.
Step 3: Apply the Polish
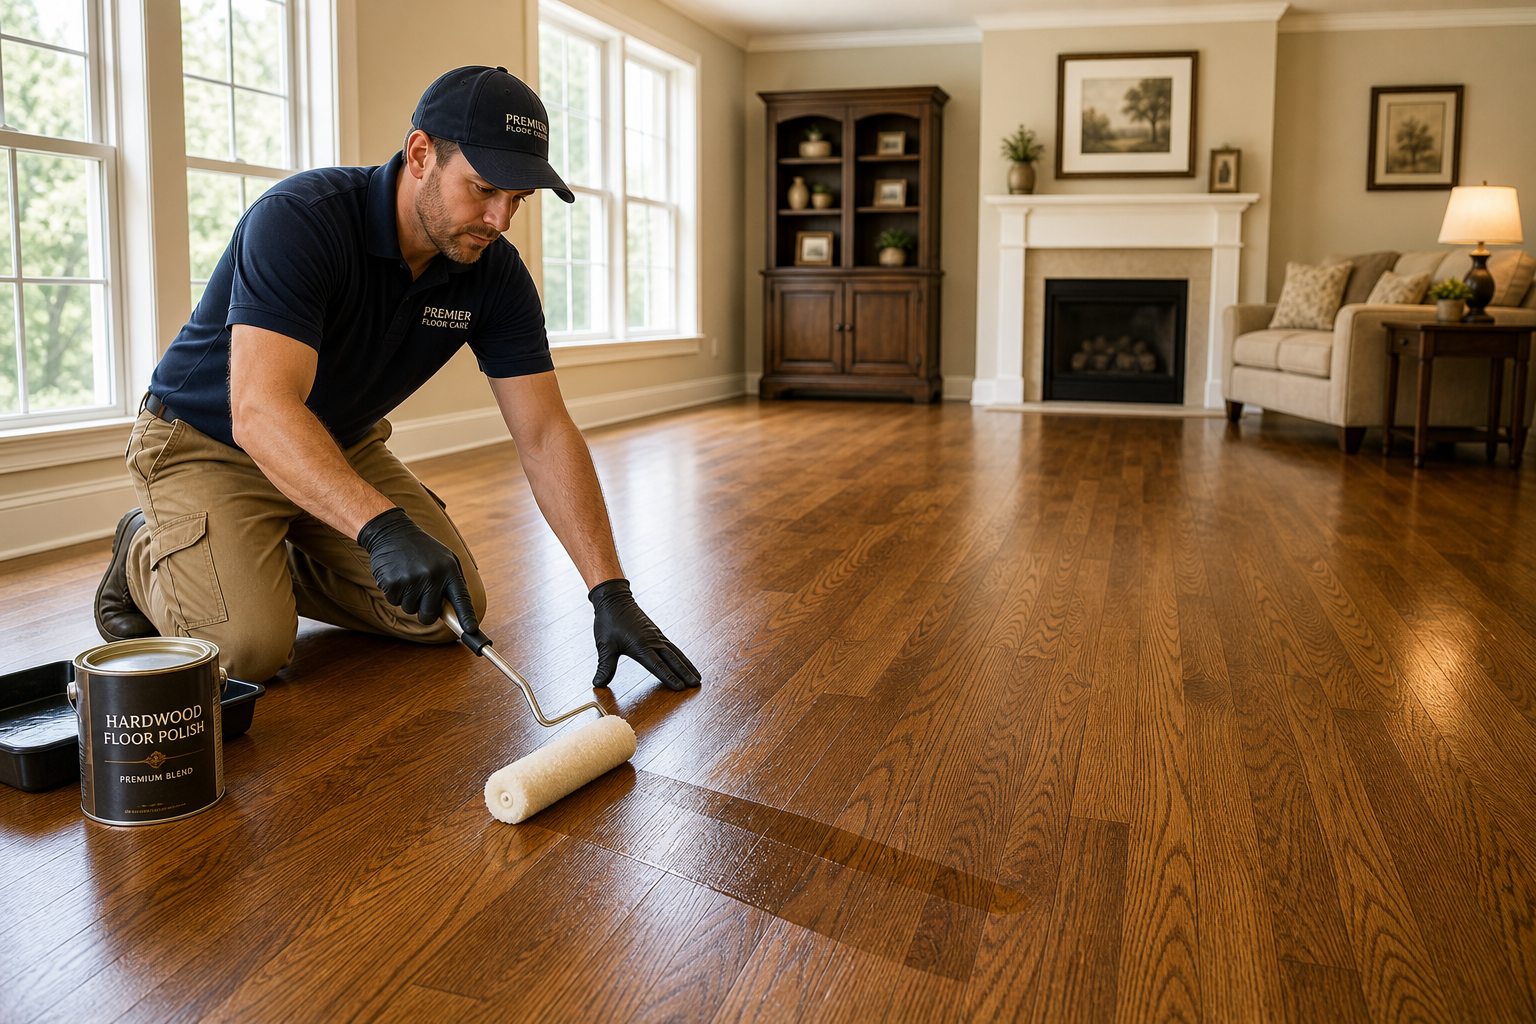
Once the floor is screened and vacuumed, the polish is applied in thin, even coats using a lamb's wool applicator or a flat microfiber pad. Most jobs require two coats, with a drying period of one to two hours between each. You'll need to stay off the floors for at least 24 hours after the final coat to let everything cure properly.
Choosing the Right Polish for Your Floor Type
Not all polishes are created equal. Water-based polishes dry faster and have lower VOCs, making them ideal for families with kids and pets. Oil-based polishes take longer to dry but tend to offer a warmer, richer tone. And if you have a wax-finished floor (common in older homes), you'll need a completely different product. When in doubt, consult the experts at Arbutus Hardwood — they'll match the right product to your specific floor.
Common Mistakes That Ruin Your Polishing Results
I've seen it happen more times than I'd like to admit. Homeowners get excited, grab a bottle of polish from the hardware store, and go to town — only to end up with a streaky, sticky mess. Let's talk about the pitfalls so you can avoid them.
Over-Polishing and Product Buildup
More is not better. Applying too many coats of polish, or polishing too frequently, creates a thick, gummy buildup that actually attracts dirt and makes your floors look cloudier over time. It's like layering on ten coats of lip gloss — eventually, it just looks weird. Stick to the recommended frequency (more on that below) and resist the urge to "top up" every month.
Skipping the Cleaning Phase
I know I already mentioned this, but it bears repeating because it's the number one mistake DIYers make. Polishing over dirt is like brushing your teeth without removing the spinach from between them first. The result is going to be disappointing no matter how good the polish is.
Hardwood Floor Repairing: Addressing Damage Before You Polish
Here's a hard truth: hardwood floor polishing will not fix physical damage. If you have deep scratches that catch your fingernail, warped boards from a plumbing leak, or gaps wide enough to lose a marble in, you need to handle those issues first.
Gouges, Gaps, and Water Damage
Hardwood floor repairing is a separate process that involves filling gouges with wood putty, replacing individual damaged planks, and addressing moisture-related warping. Trying to polish over these problems is like putting a Band-Aid on a broken arm — it might cover the surface, but the underlying issue will only get worse. The Arbutus Hardwood repair team can assess your floors and tackle any structural issues before polishing begins, ensuring a flawless final result.
Cost Comparison: Polishing, Refinishing, and Replacement
Budget matters. Let's break down the numbers so you can make an informed decision.
| Service | Average Cost (per sq. ft.) | Timeline | Best For |
|---|---|---|---|
| Hardwood Floor Polishing | $1 – $3 | 1 – 2 days | Lightly worn floors with intact finish |
| Hardwood Floor Refinishing | $3 – $8 | 3 – 5 days | Heavily worn, scratched, or discolored floors |
| Full Floor Replacement | $12 – $25+ | 1 – 3 weeks | Severely damaged or outdated floors |
As you can see, hardwood floor polishing is the most budget-friendly option by a wide margin. It's the perfect middle ground between doing nothing and committing to a major renovation.
Polishing Frequency and Maintenance Schedule for Long-Lasting Results
| Maintenance Task | Recommended Frequency | Purpose |
|---|---|---|
| Dry mopping / sweeping | Daily to weekly | Remove abrasive grit and dust |
| Damp mopping with hardwood cleaner | Monthly | Deep clean without damaging finish |
| Hardwood floor polishing | Every 2 – 4 months (high traffic) or every 6 – 12 months (low traffic) | Restore shine and fill micro-scratches |
| Professional screening and recoating | Every 3 – 5 years | Extend the life of the finish between refinishes |
| Full hardwood floor refinishing | Every 7 – 15 years | Complete restoration of worn floors |
Following this schedule will keep your floors looking showroom-fresh for years — and it'll delay the need for a costly refinish significantly.
Custom Hardwood Flooring and Professional Installation
Sometimes, polishing and refinishing aren't enough. Maybe you've just bought a home with cheap laminate that you're dying to rip out. Or perhaps you're building your dream house and want floors that are as unique as you are. That's where custom hardwood flooring enters the picture.
With custom hardwood, you get to choose everything: the wood species (white oak, hickory, Brazilian cherry — the options are gorgeous), the plank width, the stain color, the finish sheen, and even the installation pattern. Want a chevron layout in your dining room? Done. Dreaming of wide-plank reclaimed barn wood in your bedroom? Absolutely. Arbutus Hardwood's installation team specializes in bringing these visions to life with meticulous craftsmanship. And once your new custom floors are in place, a regular hardwood floor polishing routine will keep them looking spectacular for decades.
Why Arbutus Hardwood Is Your Best Bet
With so many flooring companies out there, why should Arbutus Hardwood be at the top of your list? Simple. They treat your floors the way a surgeon treats a patient — with precision, care, and an obsessive attention to detail. From hardwood floor polishing and hardwood floor refinishing to hardwood floor repairing and custom hardwood flooring, they offer a full spectrum of services under one roof. No subcontractors, no guesswork, no cutting corners. Just beautiful floors and happy homeowners.
Final Thoughts
Your hardwood floors are a living, breathing part of your home. They expand and contract with the seasons, they absorb the energy of your daily life, and they tell the story of every dinner party, every crawling baby, and every lazy Sunday morning. Hardwood floor polishing is the simplest, most cost-effective way to honor that story and keep your floors looking their absolute best. Don't wait until the damage is irreversible. Start with a polish, stay on top of maintenance, and when the time comes for something more intensive, trust the experts at Arbutus Hardwood to deliver results that'll make you fall in love with your home all over again.
FAQs
1. How long does hardwood floor polishing take to dry?
Most water-based polishes are dry to the touch within one to two hours, but you should wait at least 24 hours before moving furniture back and a full 72 hours before placing area rugs. Oil-based polishes take longer — typically 24 to 48 hours to dry and up to a week to fully cure. Patience is key here; rushing the process is the fastest way to end up with footprints permanently embedded in your fresh finish.
2. Can I polish my hardwood floors myself, or should I hire a professional?
You can DIY it, but the results depend heavily on your technique and the products you use. Consumer-grade polishes from big-box stores often contain acrylics that create a temporary shine but build up over time, eventually requiring professional stripping. A professional hardwood floor polishing service from Arbutus Hardwood uses commercial-grade products and proper screening techniques that deliver longer-lasting, streak-free results.
3. Will hardwood floor polishing remove deep scratches?
No. Hardwood floor polishing fills in micro-scratches and restores surface shine, but it won't eliminate deep gouges or scratches that have penetrated through the finish into the raw wood. For those, you'll need hardwood floor repairing or a full hardwood floor refinishing. Think of polishing as concealer — it covers minor imperfections beautifully, but it's not going to hide a scar.
4. How often should I have my hardwood floors professionally polished?
It depends on traffic. High-traffic areas like kitchens, hallways, and entryways benefit from professional polishing every two to four months. Lower-traffic rooms like guest bedrooms can go six to twelve months between sessions. The best approach is to establish a maintenance schedule with a trusted provider like Arbutus Hardwood so your floors never reach the point of looking neglected.
5. Is hardwood floor polishing safe for all types of hardwood finishes?
Most modern polyurethane-finished floors respond beautifully to polishing. However, older homes with wax-finished or shellac-finished floors require specialized products and techniques. Applying the wrong type of polish to a wax floor, for example, can create a cloudy, sticky disaster. Always identify your floor's finish type before polishing, or better yet, let the professionals at Arbutus Hardwood handle it — they've seen every finish type in the book and know exactly what your floors need.

 English
 French
 Spanish
 Portuguese
 Deutsch
 Turkish
 Dutch
 Italiano
 Russian
 Romaian
 Portuguese (Brazil)
 Greek